It's that time of year--Washington Post's annual Peeps Diorama contest! This year I decided to go with a Wizard of Oz theme because I knew it would be fun to make all of the characters out of peeps. Here are the pictures I submitted for the contest:


This year I had almost all of my materials on hand, so I was glad that I didn't have to buy too much. Just red glitter, brown embroidery thread, and green paint. Oh and lots of peeps!

Here is the Wicked Peep of the West. I spray painted her green, used green pipe cleaners for the arms, and black satin for her dress and hat. I also used a stick and some dried grass for her broom. She doesn't have any legs because she is melting!

I made the Tin Man's funnel hat and body out of paper, then spray painted the whole thing silver. To make his legs I cut off the ears of one peep and glued them to the bottom of his body. Peeps with legs! By the way, after much trial and error I've learned that hot glue is the best for working with peeps. Their sugary bodies makes it hard for anything else to stick. And you would think that the hot glue would melt them, but it works really well. Just wanted to share in case you are crazy like me and want to get crafty with peeps!

The Cowardly Lion looks just like my nephew Owen in his lion Halloween costume, because I used leftover fleece and yarn. My favorite part is how he is holding his tail because he is so scared.

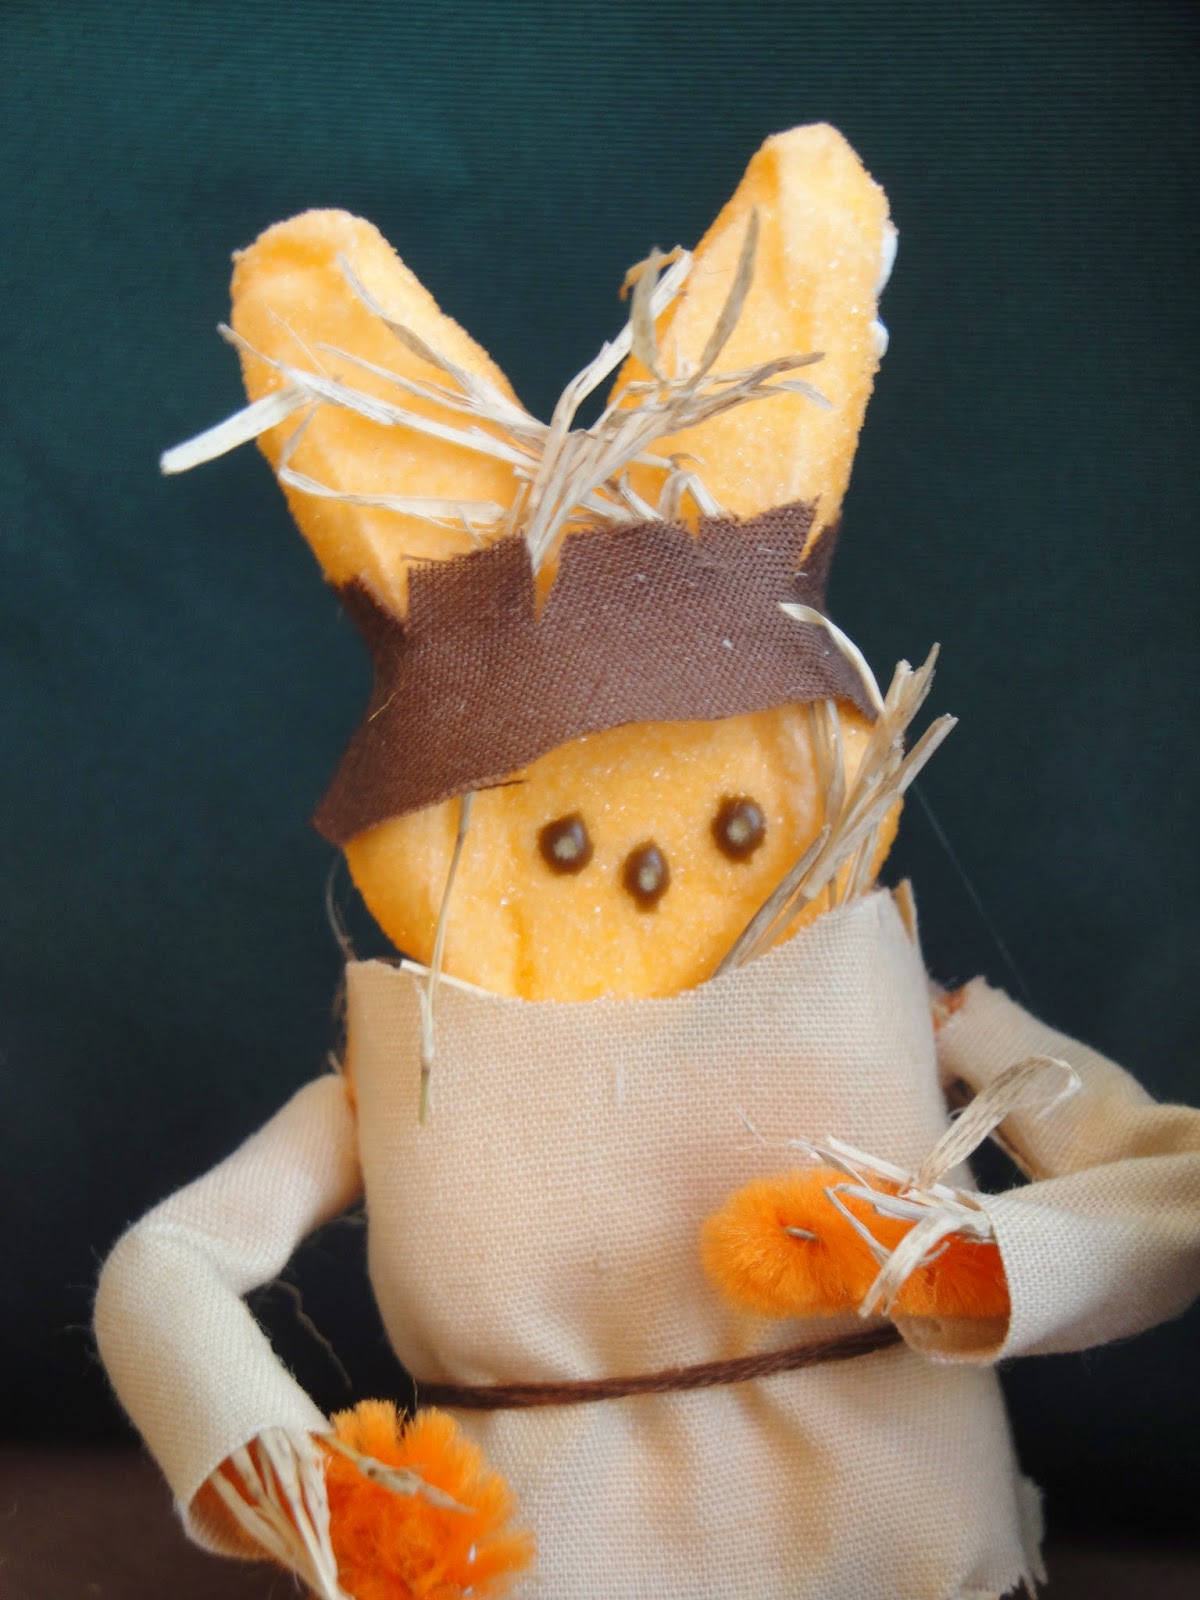
The Scarecrow was the toughest one to make, but he turned out so well! I made his hat and shirt out of cotton fabric and stuffed in some dried grass to look like straw.

Here is Dorothy in her cute gingham dress and brown hair made from embroidery floss. Let me tell you, it is not easy braiding hair for a peep!

Of course Dorothy had to have her ruby slippers. I had some Barbie shoes and I painted them with red nail polish and dipped them in glitter.
And now for my favorite part--the closeups!


So, after Dorothy pours water on the Wicked Peep, she grabs the witches broom...

And then takes it back to the Wizard of Peep!

I couldn't resist making the green wizard's head out of one of these giant peep bunnies!
I hope you like this year's theme. The winners of the contest will be announced in a few weeks, but I just have so much fun making my peeps!